I'm embarking on establishing the development environment and thought it would be useful to record the steps.
I'm starting with a fresh installation of Debian 5.0 as a VirtualBox Guest. Before we delve into the Android setup I first installed the VirtualBox Additions to get better control of my mouse and keyboard. While not required directly by the Android development they're useful, but only applicable if you're running VirtualBox.
VirtualBox Additions Installation
# apt-get install gcc linux-headers-`uname -r` build-essential
Then select Devices->Install VirtualBox Additions to mount the disc image.
I've always had trouble running the installation script directly from the disc, so I have had to introduce an incremental step of copying to the file system before running.
# cp /media/cdrom0/VBoxLinuxAdditions-amd64.run /tmp
# /tmp/VBoxLinuxAdditions-amd64.run
Then reboot the system for the additions to take effect.
Now the preliminaries are complete, let's get to installing the Android development environment.
Install Sun Java
Update you're repository to utilize the non-free Sun packages.
# echo "deb http://ftp.de.debian.org/debian/ lenny main contrib non-free" >> /etc/apt/sources.list
# apt-get update
# apt-get install sun-java6-jdk sun-java6-jre
Since I'm running an AMD64 kernel I need to install the 32-bit libaries.
# apt-get install ia32-libs
Lastly, you need to ensure you're running the Sun Java utilities and not the Gcc versions. To ensure this, remove any unnecessary Gcc Java packages and ensure the symbolic links for the relevant Java utilities are pointing to the Sun packages.
# apt-get remove gcj-jdk
# update-alternatives --config javac
# update-alternatives --config java
On each of the update-alternatives ensure the selection is pointed toward the .../java-6-sun/... version. This killed me in my first attempt as the symbolic reference for the 'java' utility was pointing to '/usr/lib/jvm/java-gcj/jre/bin/java' and bad things happened (e.g. Null References when installing Android targets). Moral of the story, "check this".
Android SDK installation
Alright, we're ready to install the SDK having set up the Java environment.
Notice I'm running as a general user and will be installing in my home directory.
$  wget http://dl.google.com/android/android-sdk_r06-linux_86.tgz
$ tar -xvf ./android-sdk_r06-linux_86.tgz
Next, install the platforms by issuing the following command and selecting "SDK Platform Android 2.1 API 7, revision 1' (in my case anyway as my Galaxy is a Android 2.1 based). Then select the 'install' button. Then, exit as we'll proceed on with the command line.
user@debian:~$ ./android-sdk-linux_86/tools/android update sdk
You'll next need to create an Android Virtual Device. Note, the target 6 specifies an Android 2.1 target, applicable for my phone.
$ ./android-sdk-linux_86/tools/android create avd --target 6 --name myAvd
Create a new Android project by issuing the following command:
$ $ ./android-sdk-linux_86/tools/android create project --package com.example.helloandroid --activity HelloAndroid --target 2 --path ~/HelloAndroid
You'll find the example primed with a main routine:
user@debian:~$ cat /home/user/HelloAndroid/src/com/example/helloandroid/HelloAndroid.java
package com.example.helloandroid;

import android.app.Activity;
import android.os.Bundle;

public class HelloAndroid extends Activity
{
   /** Called when the activity is first created. */
   @Override
   public void onCreate(Bundle savedInstanceState)
   {
       super.onCreate(savedInstanceState);
       setContentView(R.layout.main);
   }
}
Now you're ready to compile this no-op application and run in the emulator.
This is the point I realized that Android development requires Ant, so I installed the package.
# apt-get install ant
You'll see that a build.xml file exists, the source for the Ant build.
user@debian:~$ cd /home/user/HelloAndroid/
user@debian:~/HelloAndroid$ ls
AndroidManifest.xml  build.xml           local.properties
bin                  default.properties  res
build.properties     libs                src
Build the target by issuing 'ant debug' from the project directory.
user@debian:~/HelloAndroid$ pwd
/home/user/HelloAndroid
user@debian:~/HelloAndroid$ ant debug
The result is an *.apk file in the bin directory; this is the executable you'll be running in the emulator.
Running in the Emulator
You're last steps are to start the AVD and install the application within it.
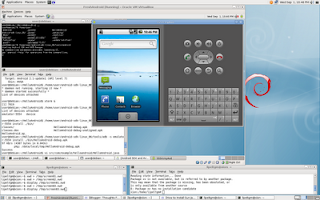
Start the AVD by issuing the android tool, selecting the AVD, and clicking on the start button. In a few seconds you should get a virtual phone presented on the screen.
$ /home/user/android-sdk-linux_86/tools/android
In another window/terminal, you can list the available devices by issuing the following command. You should be met with a list that includes the AVD you just started.
$ /home/user/android-sdk-linux_86/tools/adb devices
Almost there; final steps are to install your app and run it.
user@debian:~/HelloAndroid$ /home/user/android-sdk-linux_86/tools/adb -s emulator-5554 install ./bin/HelloAndroid-debug.apk
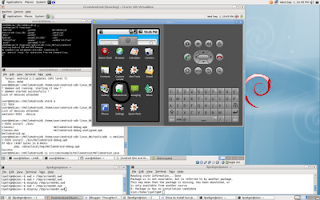
Running the application just like you would on your phone, navigate to the applications and click on it.

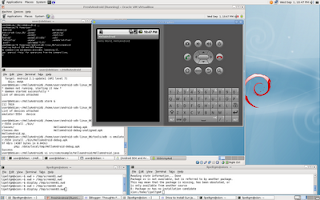
As you can see, you get a 'Hello World, HelloAndroid' on the screen. Not too exciting. If you're interested, and you should be, you'll find the text reference in the ~/HelloAndroid/res/layout/main.xml file.
Keep your stick on the ice.


No comments:
Post a Comment